|
|
Placing Type on a Map
Concluding this unit, take the chance to test your knowledge about placing names.
Name placement is one of the most important elements relating to map design and production. Appropriately positioned type is more legible and, furthermore, does not disturb other map components. This exercise is intended to create awareness of this. Be aware that the name placing workflow would also cover first creating a name manuscript and to search for the right names in the right amount. In this exercise, we will just focus on the correct placement.
|
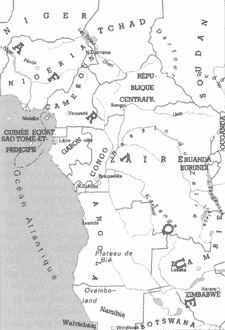
First, visualise the following map excerpt and take a couple of minutes to think about the placement mistakes in this example. Click on the picture to enlarge and to print or save the enlarged picture as your working base. |
 (Anson et al. 2002) (Anson et al. 2002) |
|
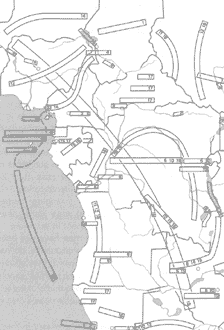
Secondly, just in case you might not be sure, take the following map-type placement-sketch into account. The included numbers refer to the corresponding comments in the associated text. You may visualise those by opening the *.pdf file here. Click on the picture to enlarge and to print or save the enlarged picture. |
 (Anson et al. 2002) (Anson et al. 2002) |
Thirdly, your active part begins! Take a piece of tracing paper, join it onto the map example and mark it with register marks at the corners. Start reorganising the chaotic name placement by placing boxes instead of the written names at the new position (Placement of boxes only to minimise the effort). Allow at least half an hour for this. It is also possible, depending on the tutors specifications, to find a digital solution by using a DTP Drawing program (e.g. Macromedia Freehand, Adobe illustrator, etc.). Here, create a new layer. Digitally, you should place the written names at the new positions, not only text boxes!
When you have finished, pass your solution on to the tutor (don't forget to place your name on the solution).
